
A kitchen renovation follows a fixed sequence: first, you determine the scope and budget, followed by the design and material selection, adjustments to the installations, preparation of the space, and finally, the installation and completion.
Following this order prevents costly problems: such as a new kitchen that is already installed while the electrical connection for the hob is missing, the drain is in the wrong place, or the countertop does not fit.
In this kitchen renovation step-by-step guide, you will read which tasks belong to each phase, how to keep kitchen renovation costs under control, and which technical checks are important for a reliable final result.
Step 1. Determine what you want to change in the kitchen
The first decision determines the rest of the renovation process. A kitchen with new fronts is a different project than a kitchen being moved to the opposite wall. The difference lies not only in the amount of material but especially in the work behind the cabinets.
With a partial renovation, existing connections can often be retained. A new layout may require adjustments to electricity, water, drainage, and ventilation. Therefore, technical feasibility must be assessed before the final design is established.
Refresh, replace, or completely remodel?
The comparison below helps to determine the scope of the work.
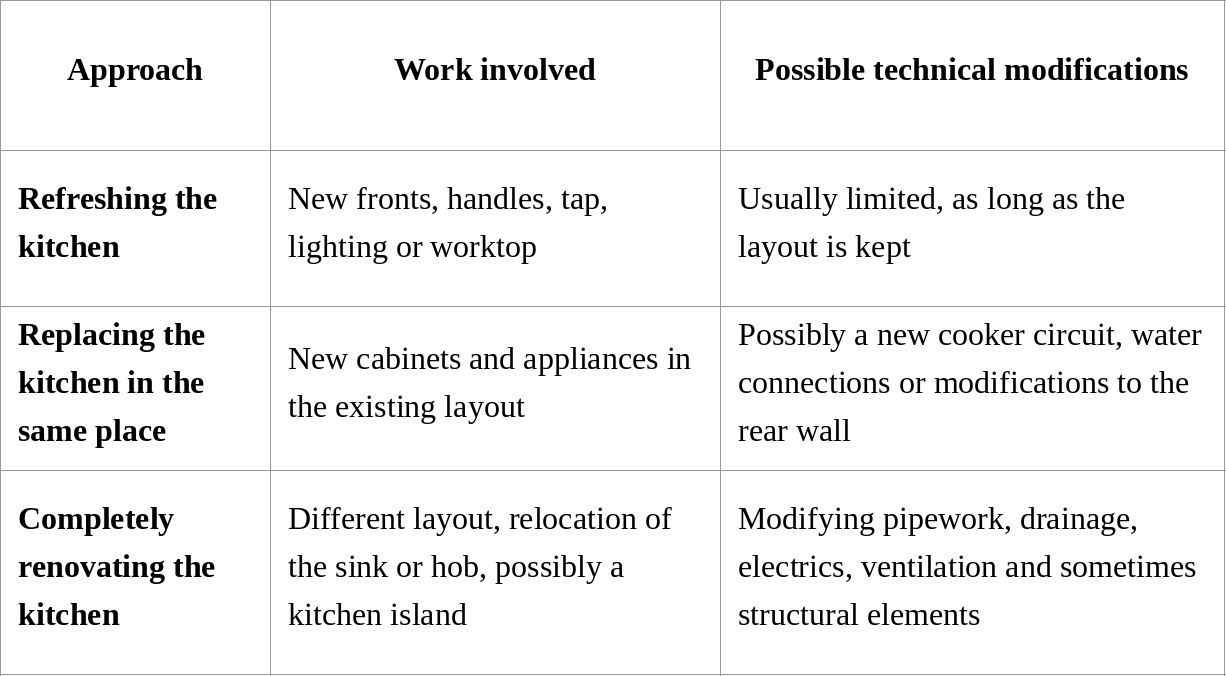
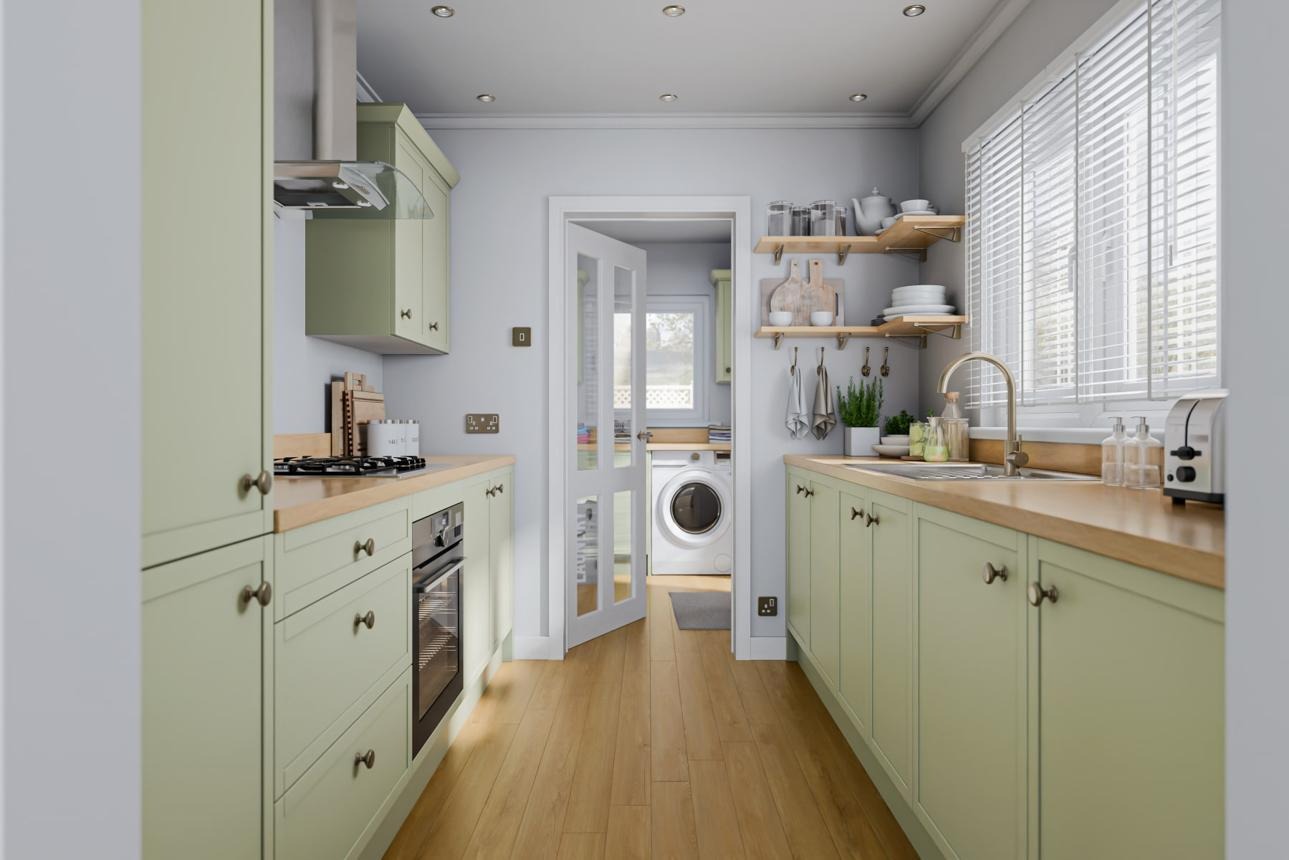
Replacing kitchen fronts makes sense if the cabinet carcasses are sturdy, dry, and dimensionally stable. Pay special attention to the base cabinets near the sink and dishwasher. Swollen board material, mold spores, or damaged joints can indicate long-term moisture exposure.
New fronts will not solve such structural problems. If the cabinet bottoms are compromised or the desired appliances do not fit in the existing cabinets, replacing the relevant components is often a wiser choice.
Step 2. Set a budget and a feasible schedule
The costs of a kitchen renovation depend on the scope of the work, the materials chosen, the appliances, and the condition of the existing space.
A quote for new fronts and a countertop is not comparable to a quote for a complete kitchen including new piping. Therefore, distinguish between the price of the kitchen components and the costs to prepare the space for installation.
How much does a kitchen renovation cost?
On Dutch comparison sites, indicative prices of approximately €7,000 to €15,000 are mentioned for a new kitchen including appliances and installation. This is not a fixed market price, nor is it a reliable price indication for every renovation. A partial renewal can cost significantly less, while a large kitchen with custom work and extensive installation work may turn out to be more expensive.
More important than a single average price is the question of which tasks are included in the quote.
Therefore, check the following cost items:
- Dismantling and disposal: removal of the old kitchen and disposal of materials.
- Installation work: adjustment of electrical, water pipes, drainage, and any gas lines.
- Kitchen components: cabinets, fronts, drawers, hardware, countertop, and backsplash.
- Appliances: hob, oven, refrigerator, dishwasher, and extractor hood, including necessary connection materials.
- Installation and finishing: placement, leveling, securing, sealing, and testing.
Ask separately about work that can only be assessed after dismantling. For example, damaged plasterwork, damp spots, or missing floor sections may become visible behind old kitchen cabinets.
Also, keep VAT in mind. For kitchen installation and regular plumbing and electrical work, the general rate of 21% usually applies. For specific work, such as plastering and painting on homes older than two years, the reduced rate of 9% may apply under certain conditions. Ask for a quote in which these items are correctly specified.
Delivery time and lead time
The installation of a fully prepared kitchen can take place in just a few working days. A complete renovation usually takes longer, as dismantling, installation work, finishing, and delivery must all be coordinated.
A custom-made countertop, in particular, can affect the schedule. For certain stone and ceramic countertops, the final measurements are only taken after the base cabinets have been installed and leveled. Production and installation follow thereafter.
Before starting work, check that all necessary appliances and kitchen components are available. A missing sink or cooktop can delay installation if the required cutouts depend on them.
Also, keep in mind that there will be a period without a fully functional kitchen. A temporary cooking area with a suitable portable cooktop and a place to wash dishes elsewhere in the house will prevent a lot of inconvenience.
How do you compare quotes?
Only compare quotes when it is clear what they include. A low price without installation is not a cheaper kitchen, but potentially an incomplete offer.
Document in writing who is responsible for measuring, delivering, connecting, and testing the various components. Also, verify who is responsible for repairing any damage to walls or floors.
Delays often occur at the intersection of responsibilities between the kitchen supplier, electrician, plumber, and installer when these roles are not clearly defined in advance.
Step 3. Design a practical kitchen layout
A good kitchen layout starts with daily use. Think about the sequence in which you store groceries, wash ingredients, prepare food, and cook.
Measure the space accurately and note the locations of windows, doors, radiators, pipe ducts, and ventilation points. Check that the walls are square and the floor is level. Small deviations can be significant for long cabinet runs and custom countertops.
Work zones and traffic flow
The classic work triangle between the refrigerator, sink, and cooktop can help when designing a compact kitchen. For larger or open-plan kitchens, it is often more practical to work with zones for storage, washing, preparation, cooking, and cleanup.
Sufficient clear countertop space is needed between the sink and the cooktop to prepare ingredients. Preferably place the dishwasher close to the sink and check that the open door does not block any important walkways.
Also, watch out for conflicts between cabinet doors and appliances. If a dishwasher is placed in a corner right next to a drawer, it may not be possible to open both at the same time.
That may seem like a minor detail on a floor plan, but it determines whether you experience daily convenience or frustration.
Work height and accessibility
Many kitchen layouts have a work height of approximately 90 to 95 cm. That does not mean this height is suitable for everyone.
A practical initial guideline is the height of your bent elbow minus about 10 to 15 cm. However, the optimal size also depends on your height, the tasks you perform, and personal preferences. Therefore, it is best to test the chosen height in a showroom.
Also, check whether the desired built-in appliances fit the cabinet height. A higher plinth or a modified countertop can affect the available installation space.
For base cabinets, full-extension drawers often provide a better overview than deep cabinets with fixed shelves. Be sure to check the load-bearing capacity of the drawer runners.
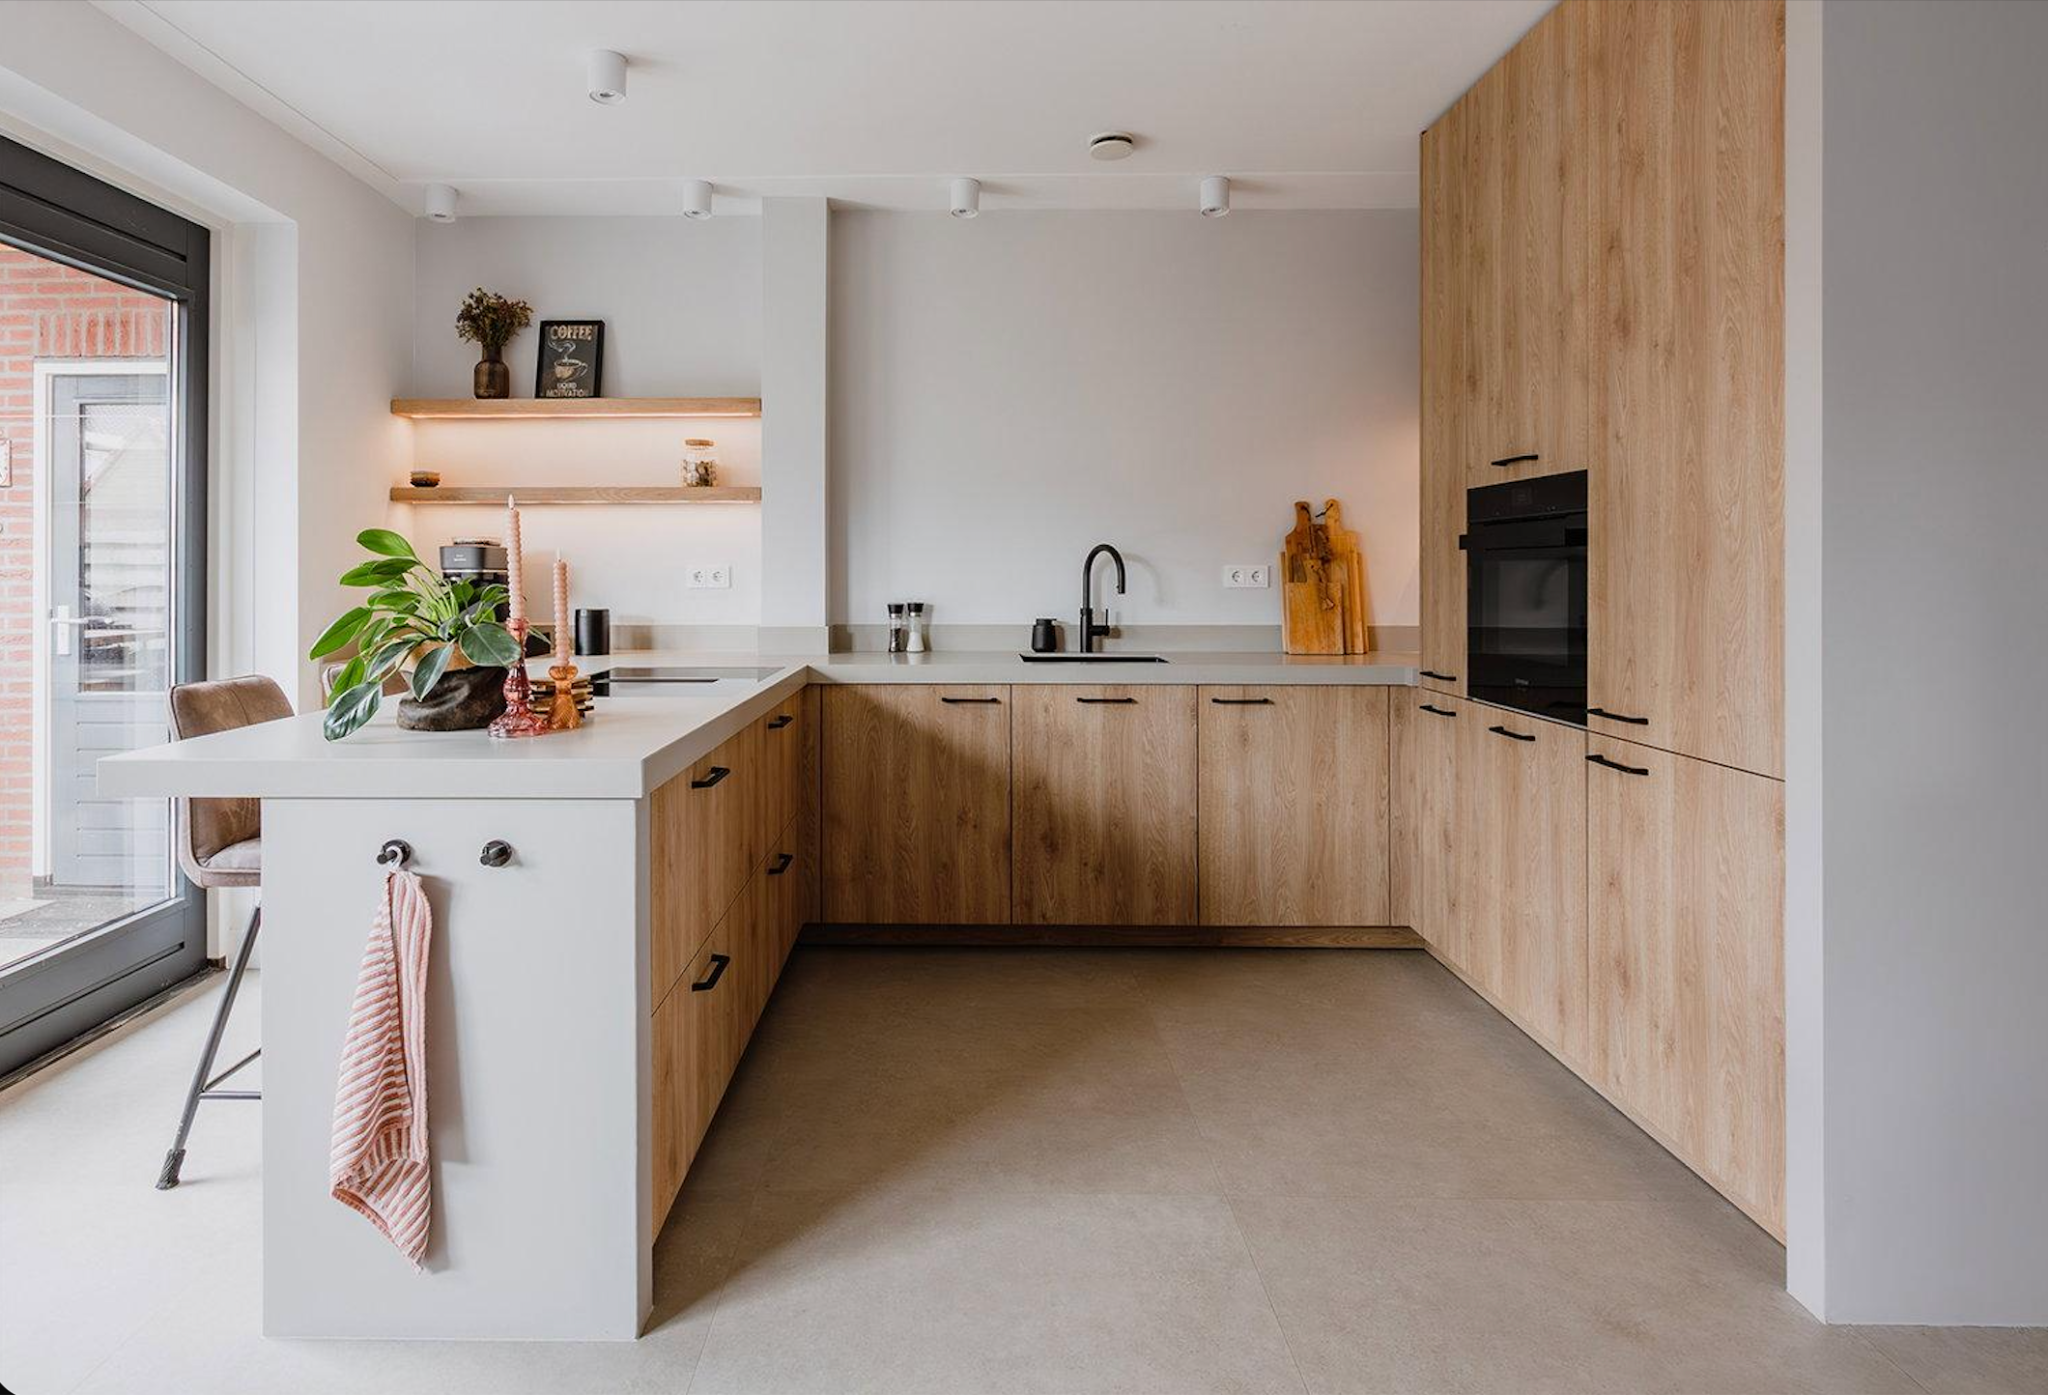
Is a kitchen island an option?
A kitchen island requires sufficient clearance around the cabinets. When designing, take into account open doors and drawers, seating, and the path between the cooking zone and the sink.
If the sink is to be placed in the island, the drain must be installed with sufficient slope to the existing drainage point. This can be technically challenging with a solid concrete floor.
A cooktop in the island has its own requirements: there must be a suitable electrical connection, and the extraction system must be compatible with the chosen layout.
Therefore, have the connection options checked before placing a final order for a kitchen island.
Step 4. Choose materials based on wear and maintenance
When renovating a kitchen, the choice of materials determines not only the look but also how well the kitchen withstands moisture, heat, grease, and daily cleaning.
The areas around the sink, dishwasher, and cooktop require particular attention. In these spots, minor damage to seams or finishes can lead to larger problems over time.
Cabinets and kitchen fronts
The quality of a cabinet is determined in part by the board material, the joints, the edge finishing, and the hardware.
For base cabinets around the sink, protection against moisture is important. Water that seeps into chipboard through a damaged edge or poorly sealed cutout can cause swelling. Such damage usually cannot be fully repaired by simply refinishing the surface.
There are various options for fronts. Foil fronts are available in many colors and textures, but the adhesive can be a point of concern under prolonged heat exposure. Lacquered fronts offer great design freedom, though damage from impacts can be clearly visible depending on the finish.
Wooden fronts and veneers provide a natural look but require maintenance appropriate to the protective coating used.
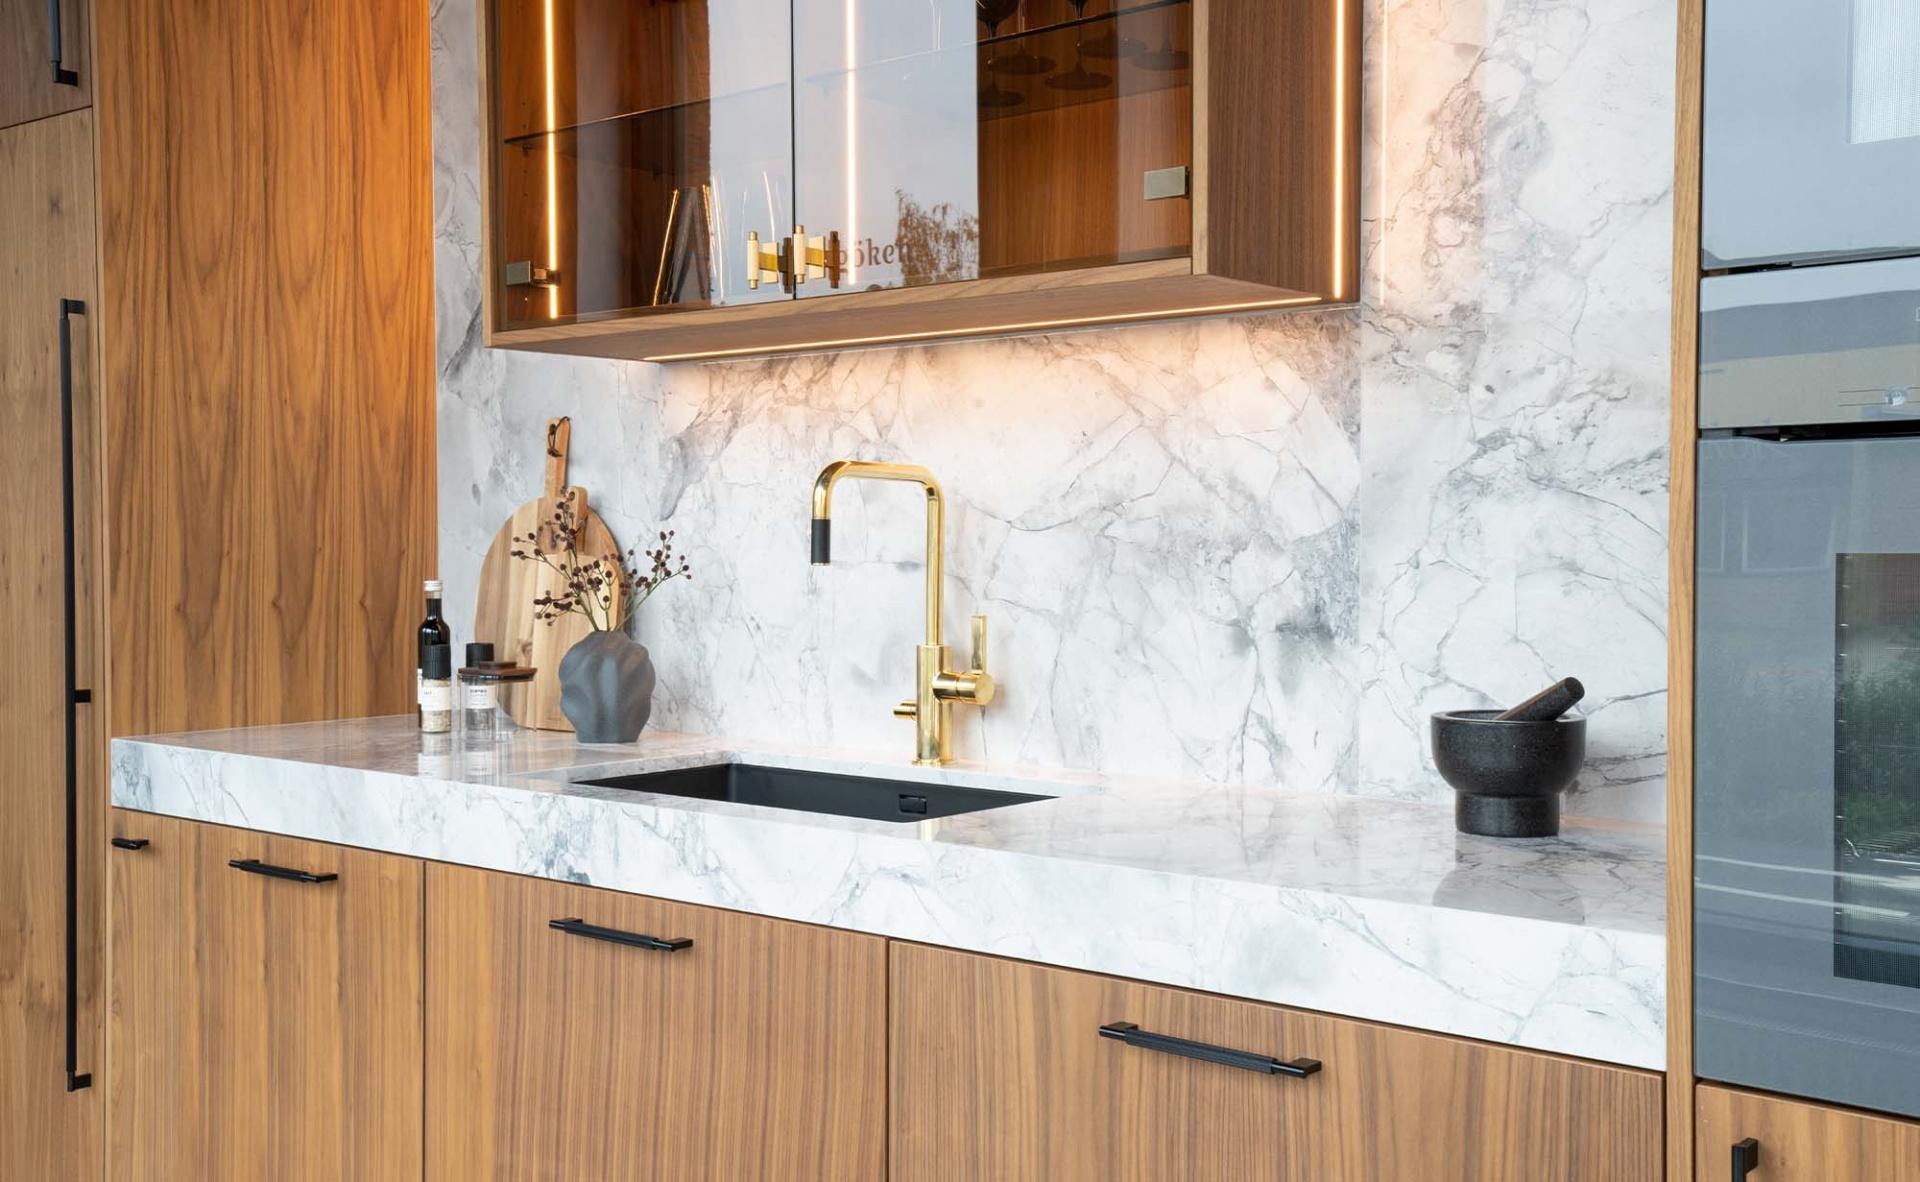
Countertop: laminate, composite, ceramic, or natural stone?
Choosing a kitchen countertop requires comparing individual material properties. Not every more expensive material is better in every respect.
Laminate is usually relatively affordable and easy to clean. It is important, however, to protect the seams and cutouts well against moisture. Hot pans can damage the top layer.
Quartz composite generally has a dense surface and is resistant to most daily stains. However, its heat resistance is limited by its composition, including the binders used. Direct contact with very hot pans can cause damage.
Ceramic is highly resistant to many stains and high temperatures, but edges and corners can be damaged by hard impacts.
Natural stone is not a uniform material. Granite, marble, and other stone types vary significantly in porosity and sensitivity to acids and stains. Acidic cleaning agents can damage the surface, especially on calcareous natural stone.
Therefore, compare the product specifications and maintenance instructions for your chosen material. You can find more information in the Bricknest guide on the differences between materials for kitchen countertops.
For heavy countertops, also consider the support provided by the base cabinets. The supplier must specify what support is required around seams, cutouts, and any overhangs.
Backsplash and sealing
A kitchen backsplash must be resistant to grease and water splashes. Tiles, glass, stainless steel, and suitable panel materials are all viable solutions.
With tiles, the grout lines require extra maintenance. A continuous backsplash has fewer joints but must be installed and sealed correctly.
Pay close attention to the connection between the countertop and the backsplash. An open or loose sealant joint can allow water to seep behind the base cabinets. Therefore, use a sealant suitable for the substrate and the specific application.
Step 5. Check electrical, gas, water, and ventilation
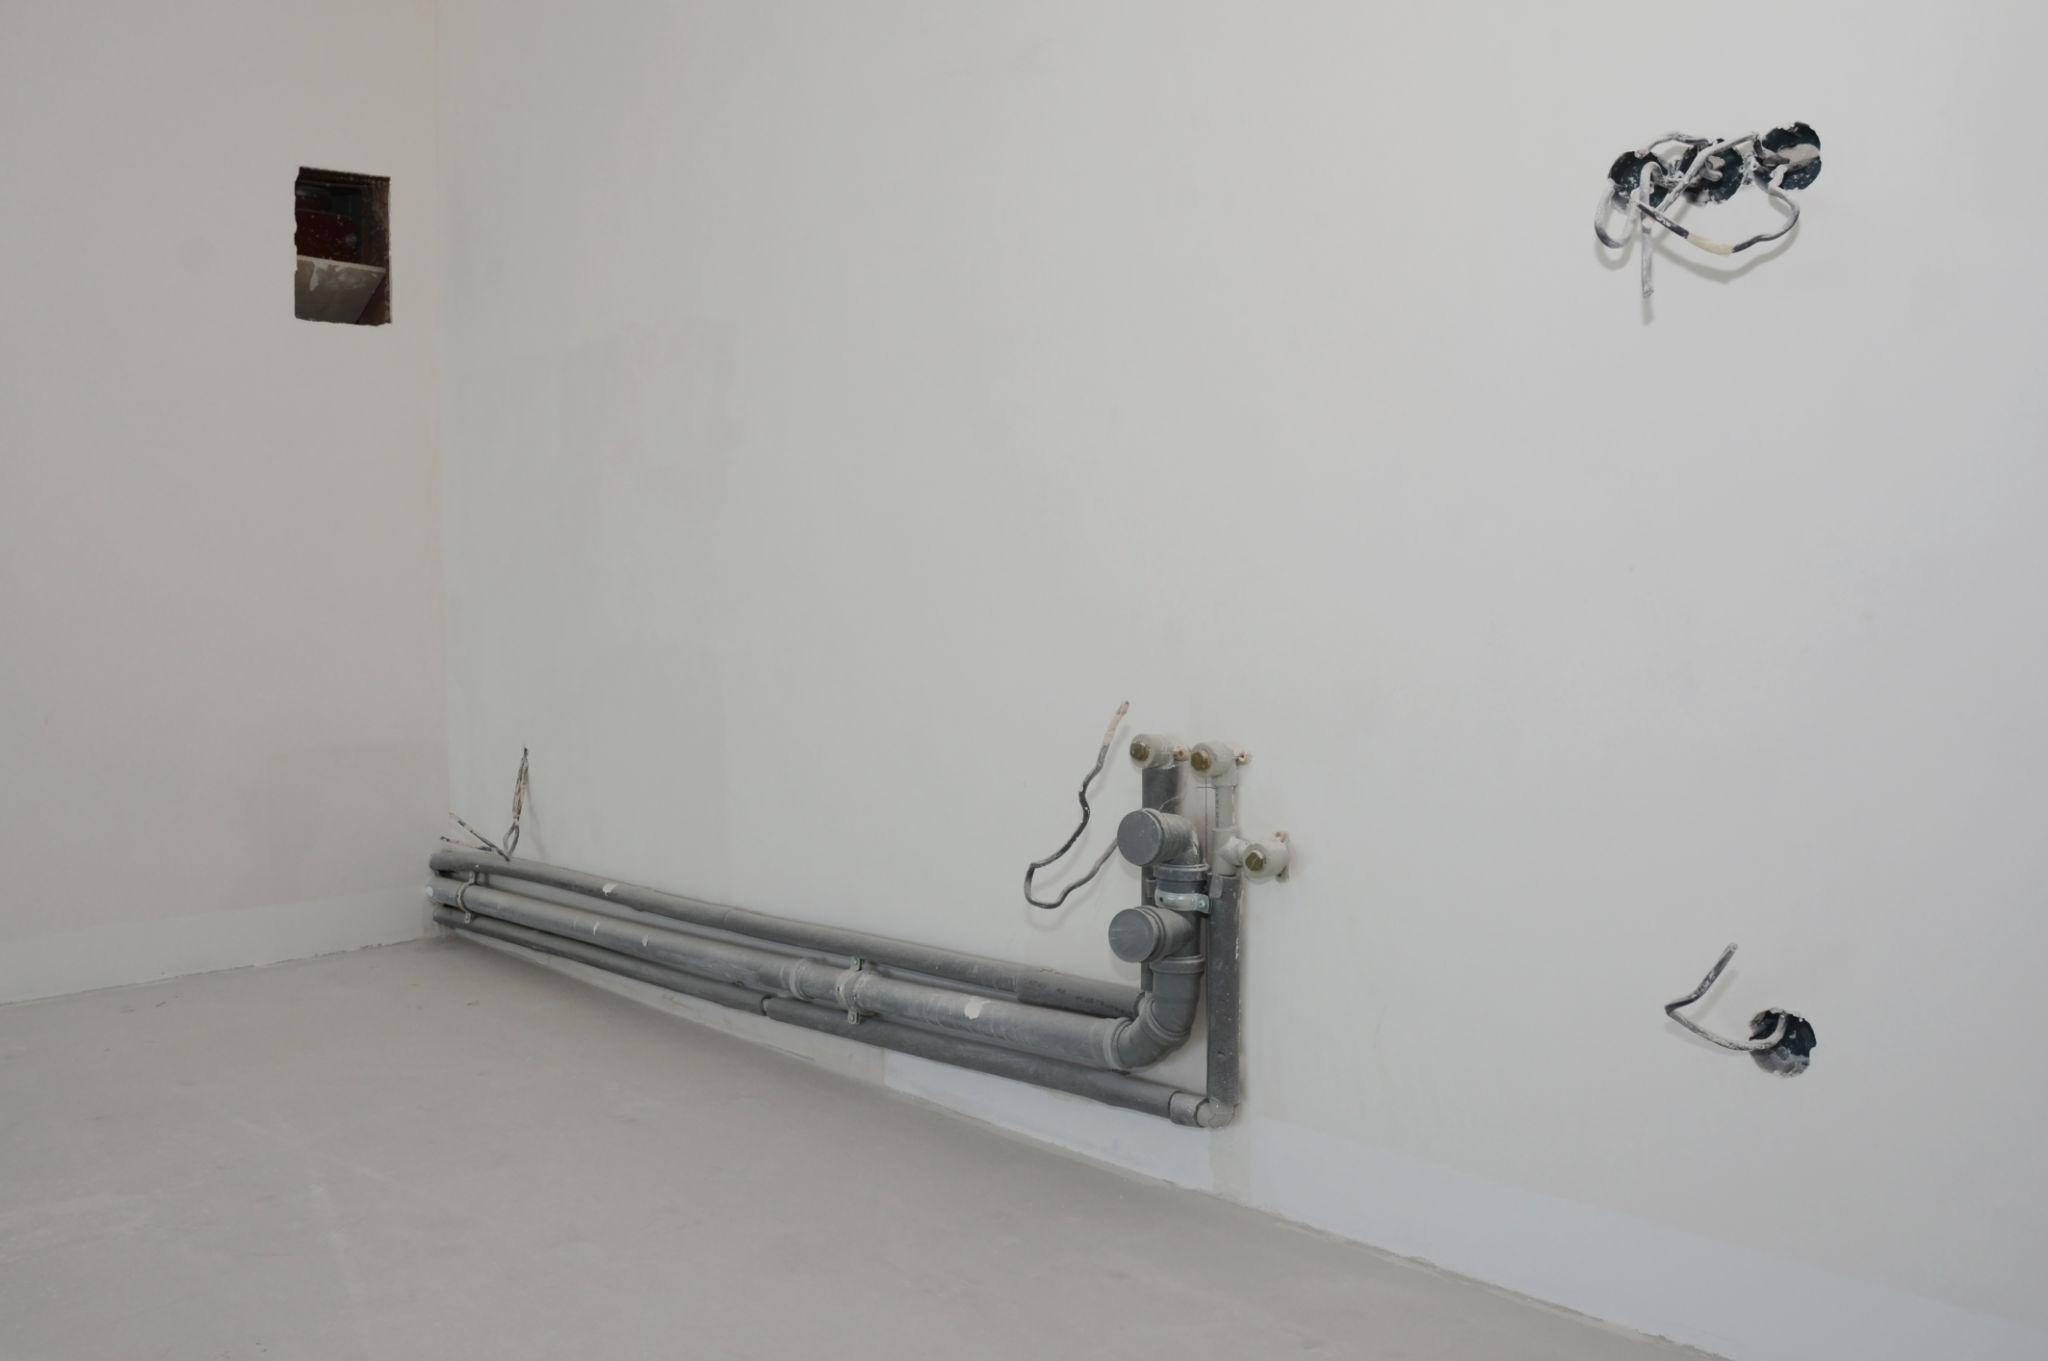
Technical preparation is one of the most important parts of a kitchen renovation plan. All connections located behind the cabinets must be in the correct position before the kitchen is installed.
Create an installation drawing showing the exact positions of the cooktop, oven, dishwasher, refrigerator, sink, and range hood. Use the technical documentation provided with your chosen appliances for this.
Electricity and connecting an induction cooktop
An induction cooktop can create a higher electrical load than the existing kitchen installation can handle.
Depending on the appliance and the existing electrical system, a separate cooking circuit or a three-phase connection may be required. The correct solution is determined by the connected load, available circuits, and the home's grid connection.
A Perilex connection does not automatically mean you have a three-phase connection. The wiring and connection configuration must also be verified.
Therefore, have an electrician assess the following before purchasing the cooktop:
- what power rating the cooktop requires;
- which circuits are available in the fuse box;
- whether a separate cooking circuit or other modification is necessary;
- whether the existing wiring and safety devices are suitable.
You can photograph the visible circuit labels without removing the consumer unit's protective covers. A qualified installer is required to assess the internal wiring and connections.
New or modified fixed electrical installations must comply with applicable safety requirements. NEN 1010 is an important Dutch standard for this.
From gas to induction
Anyone switching from gas to induction must have the existing gas line assessed in addition to the electrical connection.
A pipe that is no longer in use must be safely decommissioned. Have this carried out by a suitable installer.
Shutting off the pipe to the old stove is different from completely removing the home's gas connection. If you still use gas for your central heating boiler, the connection is usually still required.
If you want to have the entire gas connection removed, separate arrangements with the grid operator apply. Since February 1, 2024, removal can be free of charge if the grid operator determines the timing of the work. If you request removal at a specific time, costs may be charged.
Also, check whether your existing pans are suitable for induction. The base must be suitable for an induction hob; you can usually check this using the product information or with a magnet.
Energy consumption of kitchen appliances
When replacing kitchen appliances, it pays to look beyond just the purchase price. Also pay attention to the dimensions, noise level, and energy and water consumption.
Since March 1, 2021, household refrigerators, freezers, and dishwashers in the European Union have used an energy label with a scale from A to G. The old classes A+, A++, and A+++ are no longer used for these product groups.
For a dishwasher, the label states, among other things, the electricity consumption per 100 eco-program cycles and the water consumption per cycle. For a refrigerator or freezer, the annual electricity consumption is stated.
Therefore, compare appliances based on their specific consumption data and capacity, not just the letter class. Also, check the ventilation space that a built-in appliance requires according to the manufacturer.
Extractor hood and ventilation
A kitchen needs sufficient air circulation to remove moisture and pollutants. The extractor hood also helps to capture cooking fumes as close to the source as possible.
According to the Building Environment Decree (Besluit bouwwerken leefomgeving), an existing living space with a designated area for a cooking appliance generally requires a minimum ventilation capacity of 21 dm³/s, or 75.6 m³/hour. The applicable requirements and any exceptions depend on the existing situation.
This ventilation requirement should not automatically be equated with the stated capacity of an extractor hood.
There are various solutions:
- External extraction. A range hood with its own exhaust duct vents cooking fumes and moisture out of the home. Its performance depends partly on the duct length, bends, and available air supply.
- Recirculation. A recirculation hood filters grease and some odors, blowing the air back into the room. This means cooking moisture is not vented outside, so existing home ventilation remains necessary.
- Integration with mechanical ventilation. In homes with a central ventilation system, the choice of range hood must be compatible with that system. A range hood with its own motor should not simply be connected to a shared ventilation duct, as this can disrupt airflow and, in apartments, lead to odors entering other homes.
If in doubt, have a professional determine which extraction solution is technically suitable. In the guide on choosing and installing a range hood you can read more about capacity, exhaust ducts, and maintenance.
Water pipes and drainage
The sink and dishwasher must be connected to suitable water supply and drainage pipes. A boiling water tap or a small water heater may require extra space, an electrical connection, and specific installation provisions.
When moving the sink, the routing of the drain is particularly important. Wastewater must be able to flow away without awkward pipe runs or insufficient slope.
If moving it over a greater distance, it may be necessary to adjust the pipe route. In an existing concrete floor, this is not always easy to do.
In older homes, also check the material of the drinking water pipes. Some older buildings may still have lead pipes. If these are found, replacement is important to prevent exposure to lead through drinking water.
Step 6. Check permits and structural risks
Replacing kitchen cabinets or appliances within the existing space is generally not a permit-required construction activity. This may be different if the renovation affects the building's load-bearing structure, facade, or layout.
Investigate these conditions before ordering the kitchen. After all, a design that depends on a structural change cannot simply be carried out.
Load-bearing walls and building permits
If you want to turn a closed kitchen into an open one, first have it determined whether the wall to be removed is load-bearing.
Changes to the load-bearing structure may require a structural calculation and a building permit. The exact requirements depend on the nature of the work and the applicable regulations.
Use the Omgevingsloket permit check and have the structural situation assessed before demolition work begins.
You can find more background information in the article about permits for renovations in the Netherlands.
Renovating an apartment
If you live in an apartment, the rules of the homeowners' association (VvE) may also apply.
This is particularly relevant when work affects common areas, such as a facade, shared pipes, ventilation ducts, or load-bearing structures.
Check the deed of division and request permission in advance where necessary. A technical solution that is possible in a detached house may not be permitted in an apartment complex.
Asbestos in older homes
Homes built before 1994 may contain asbestos-containing materials. Think of certain old floor coverings, sheet materials, or pipe insulation.
Asbestos is not always recognizable to the naked eye. Therefore, have any suspicious material tested before you damage or remove it.
Specific legal rules apply to asbestos removal. Private individuals are only permitted to remove certain materials themselves under set conditions; this requires a demolition notification. For other applications, a professional company must be hired.

Step 7. Carry out the kitchen renovation in the correct order
During a complete kitchen renovation, various professionals work in sequence. Demolition, installation work, plastering, and kitchen assembly must all align.
A delay in one phase can affect the rest of the schedule. That is why it is important to establish in advance who is responsible for the individual tasks and when the next professional can begin.
From demolition to assembly
For a full renovation, this is generally the correct order of work:
- Demolition: remove old cabinets and appliances and inspect the space for moisture, damage, and hidden defects.
- Adjusting installations: move water pipes, drainage, electrical wiring, and any gas lines to their final positions.
- Preparing the surface: repair, level, plaster, or tile walls and floors where necessary.
- Final measurements: verify dimensions once the relevant structural work has been completed.
- Installing the kitchen: level base cabinets, secure tall units and wall cabinets, and install the countertop according to the required method.
- Connecting appliances: install and adjust the sink, faucet, and appliances, and check all connections.
- Finishing: seal visible seams, install baseboards, and complete any remaining tasks.
The exact sequence may vary. For certain custom countertops, for example, the final measurements are only taken after the base cabinets have been installed. This dependency must be factored into the planning from the start.
During installation, also check how the wall cabinets are secured. The type of fastener must be suitable for the wall construction and the load the cabinet is expected to bear.
Why coordination is important
A well-planned renovation prevents the need for rework.
For example, if an electrical outlet behind a built-in oven is not in the right place, the installer may be unable to proceed. The same applies to a drain pipe that obstructs the placement of a base cabinet.
At Bricknest, design, installations, and execution are aligned so that all technical provisions are ready before the corresponding kitchen components are installed.
Step 8. Inspect the kitchen upon completion
A kitchen is not finished the moment all the fronts are mounted. During the handover of a kitchen renovation, it must be verified that the appliances are functioning, connections are safe, and the finish meets the agreed-upon standards.
Schedule a joint inspection with the contractor for this purpose. Document any visible damage or unfinished items in writing and with photos.
Technical handover inspection
At the time of delivery, be sure to check the following points:
- Water and drainage: run water through the sink and check accessible connections for leaks.
- Electrical appliances: test the normal functions of the cooktop, oven, refrigerator, and dishwasher; have the electrical safety checked by the installer.
- Ventilation: check the operation of the extractor hood and, if a custom ventilation system is installed, have the airflow verified.
- Cabinets and drawers: open doors and drawers fully and check their alignment, closure, and mounting.
- Worktop and sealing: check for damage, instability, and gaps in the seams.
- Documentation: request manuals, maintenance instructions, warranty certificates, and relevant details regarding the installation work performed.
Test appliances according to the user manual. Switching on several heavy-duty appliances simultaneously is not a substitute for a professional inspection of the electrical installation.
Agree on a deadline for repairing any remaining defects. This prevents disputes over work that was not fully completed at the time of delivery.
Maintenance of a renovated kitchen
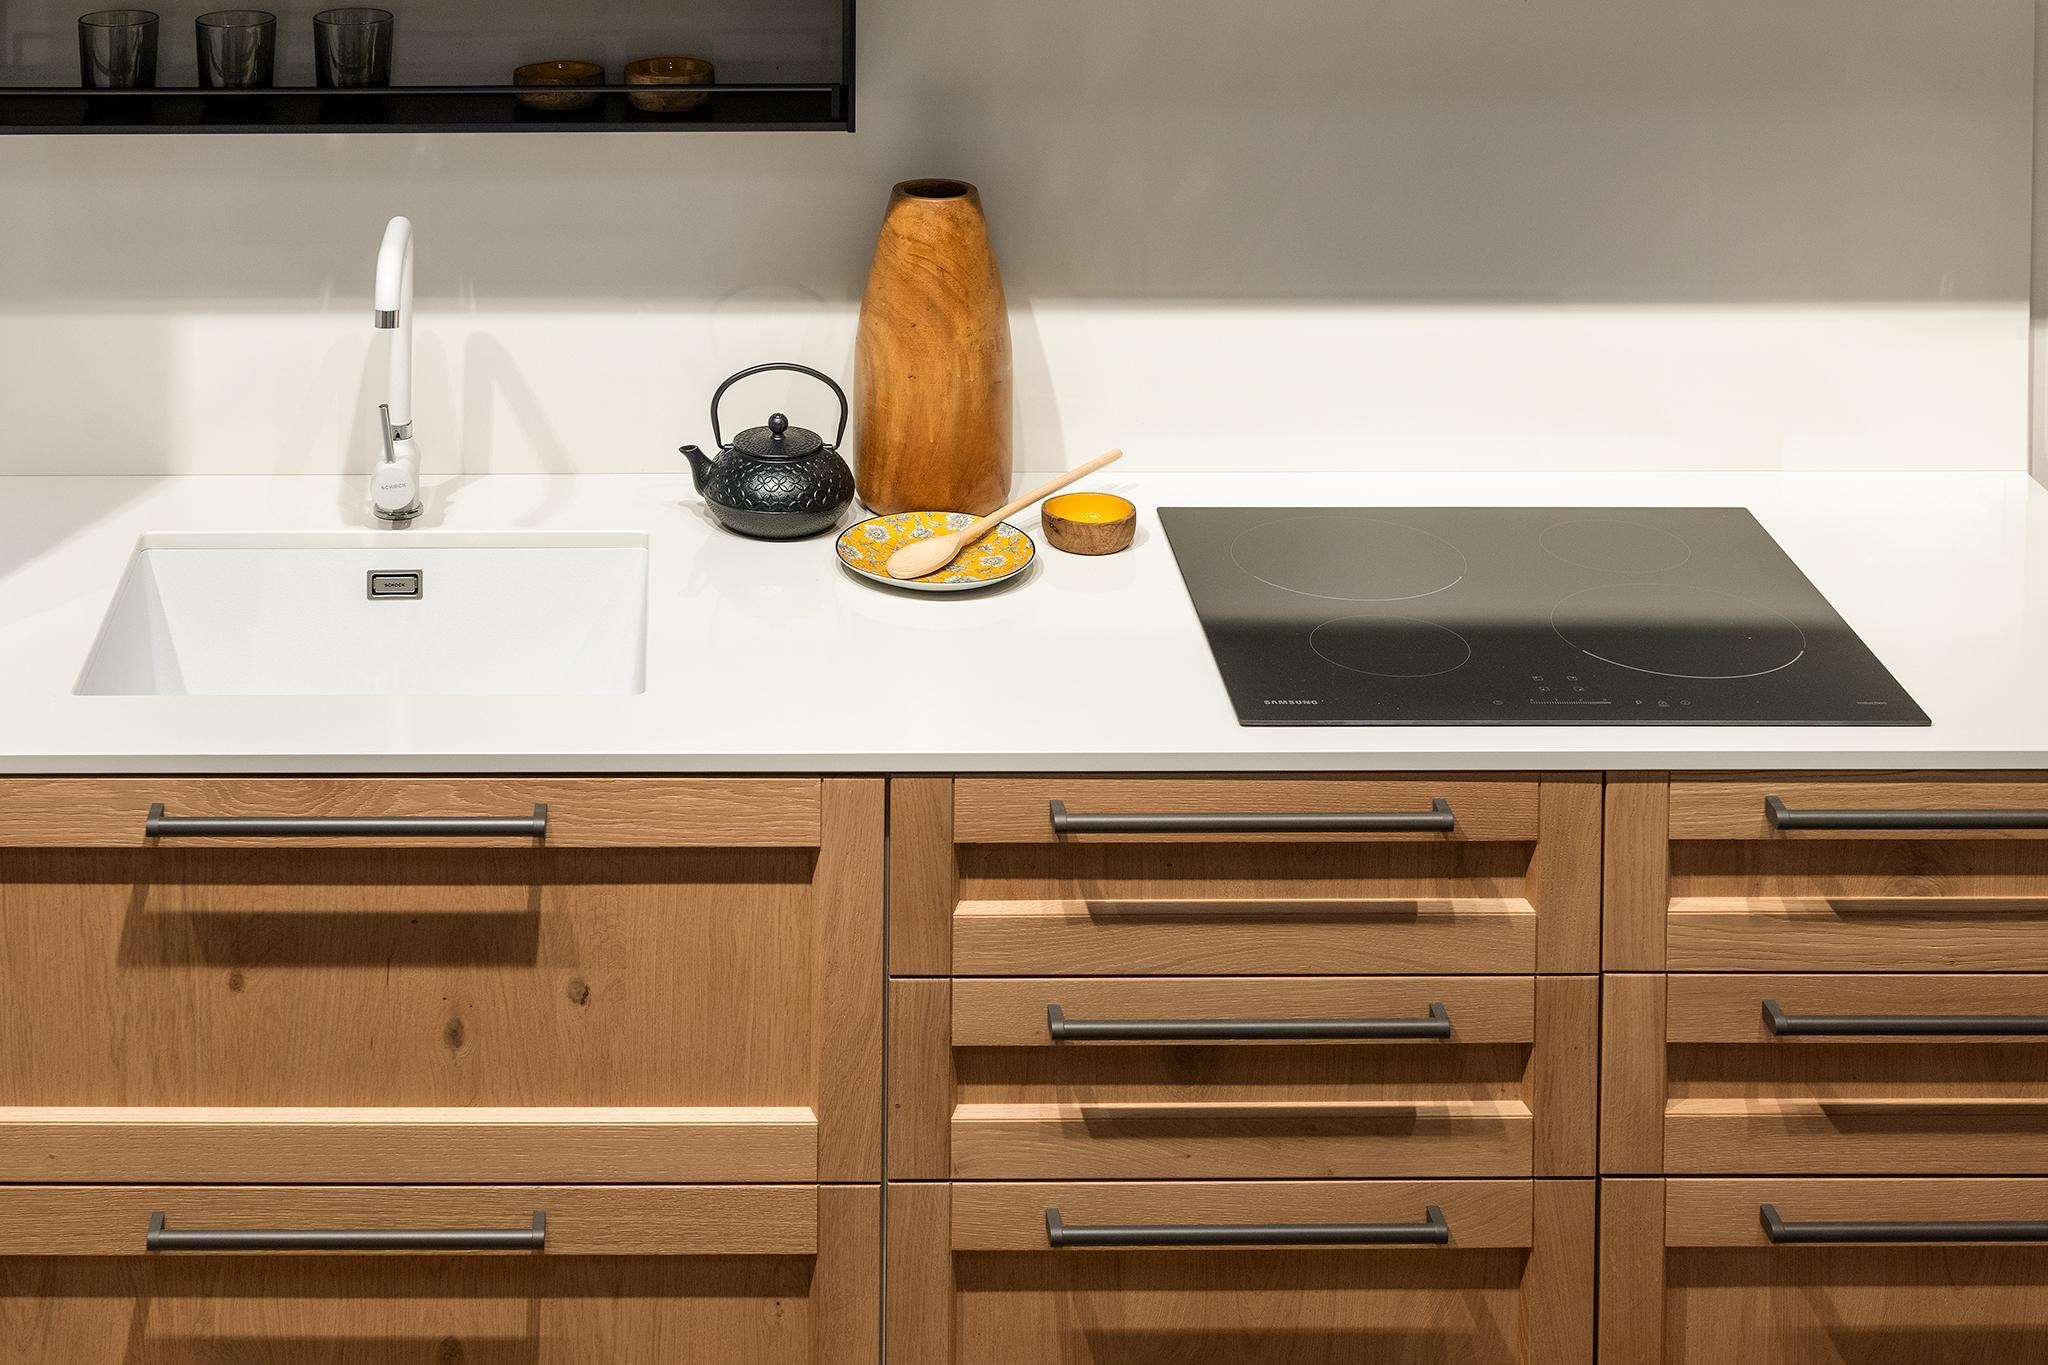
Proper maintenance helps keep materials and installations in good condition for longer. Follow the manufacturer's instructions for this: not every cleaning agent is suitable for lacquered fronts, composite, or natural stone.
Remove water around the sink promptly and check the seals if you notice that the sealant is peeling or damaged. Moisture that seeps into cabinet material through open seams can cause irreparable swelling.
Clean the grease filters of the extractor hood according to the manufacturer's instructions. For a recirculation system, the odor filters must also be cleaned or replaced in a timely manner, depending on the filter type.
Also, regularly check that hinges and drawer slides are still functioning properly. A poorly adjusted door can rub against an adjacent front, damaging the finish.
Frequently asked questions about kitchen renovation
When preparing for a renovation, questions often arise regarding the duration, the possibilities for the existing kitchen, and how to use the space during the work.
How long does a kitchen renovation take?
A minor renovation where cabinets are kept can be carried out relatively quickly. A complete renovation requires multiple phases, and delivery, installation work, and custom-made elements can extend the lead time.
Therefore, ask for a schedule that separately lists the preparation, installation, and any waiting time for the countertop.
Can I update my kitchen without replacing all the cabinets?
Yes. If the cabinet carcasses are sturdy, dry, and in good condition, new fronts, handles, a countertop, and lighting can refresh the kitchen.
Check the dimensions, hardware, and compatibility of new parts in advance. Damaged or moisture-affected cabinet carcasses must be repaired or replaced first.
How do I cook during the renovation?
If possible, set up a temporary cooking area with a suitable portable cooktop, microwave, or other appliance. Only use a safe electrical connection that is suitable for the load.
Agree in advance on when water and electricity will be temporarily shut off and arrange an alternative place to wash dishes.
Do I have to switch to induction when getting a new kitchen?
No. There is no general requirement to replace an existing gas cooktop with induction during a kitchen renovation.
Those who do switch should have the electrical connection checked in advance and have the unused gas line safely decommissioned.
Renovating your kitchen with a clear execution plan
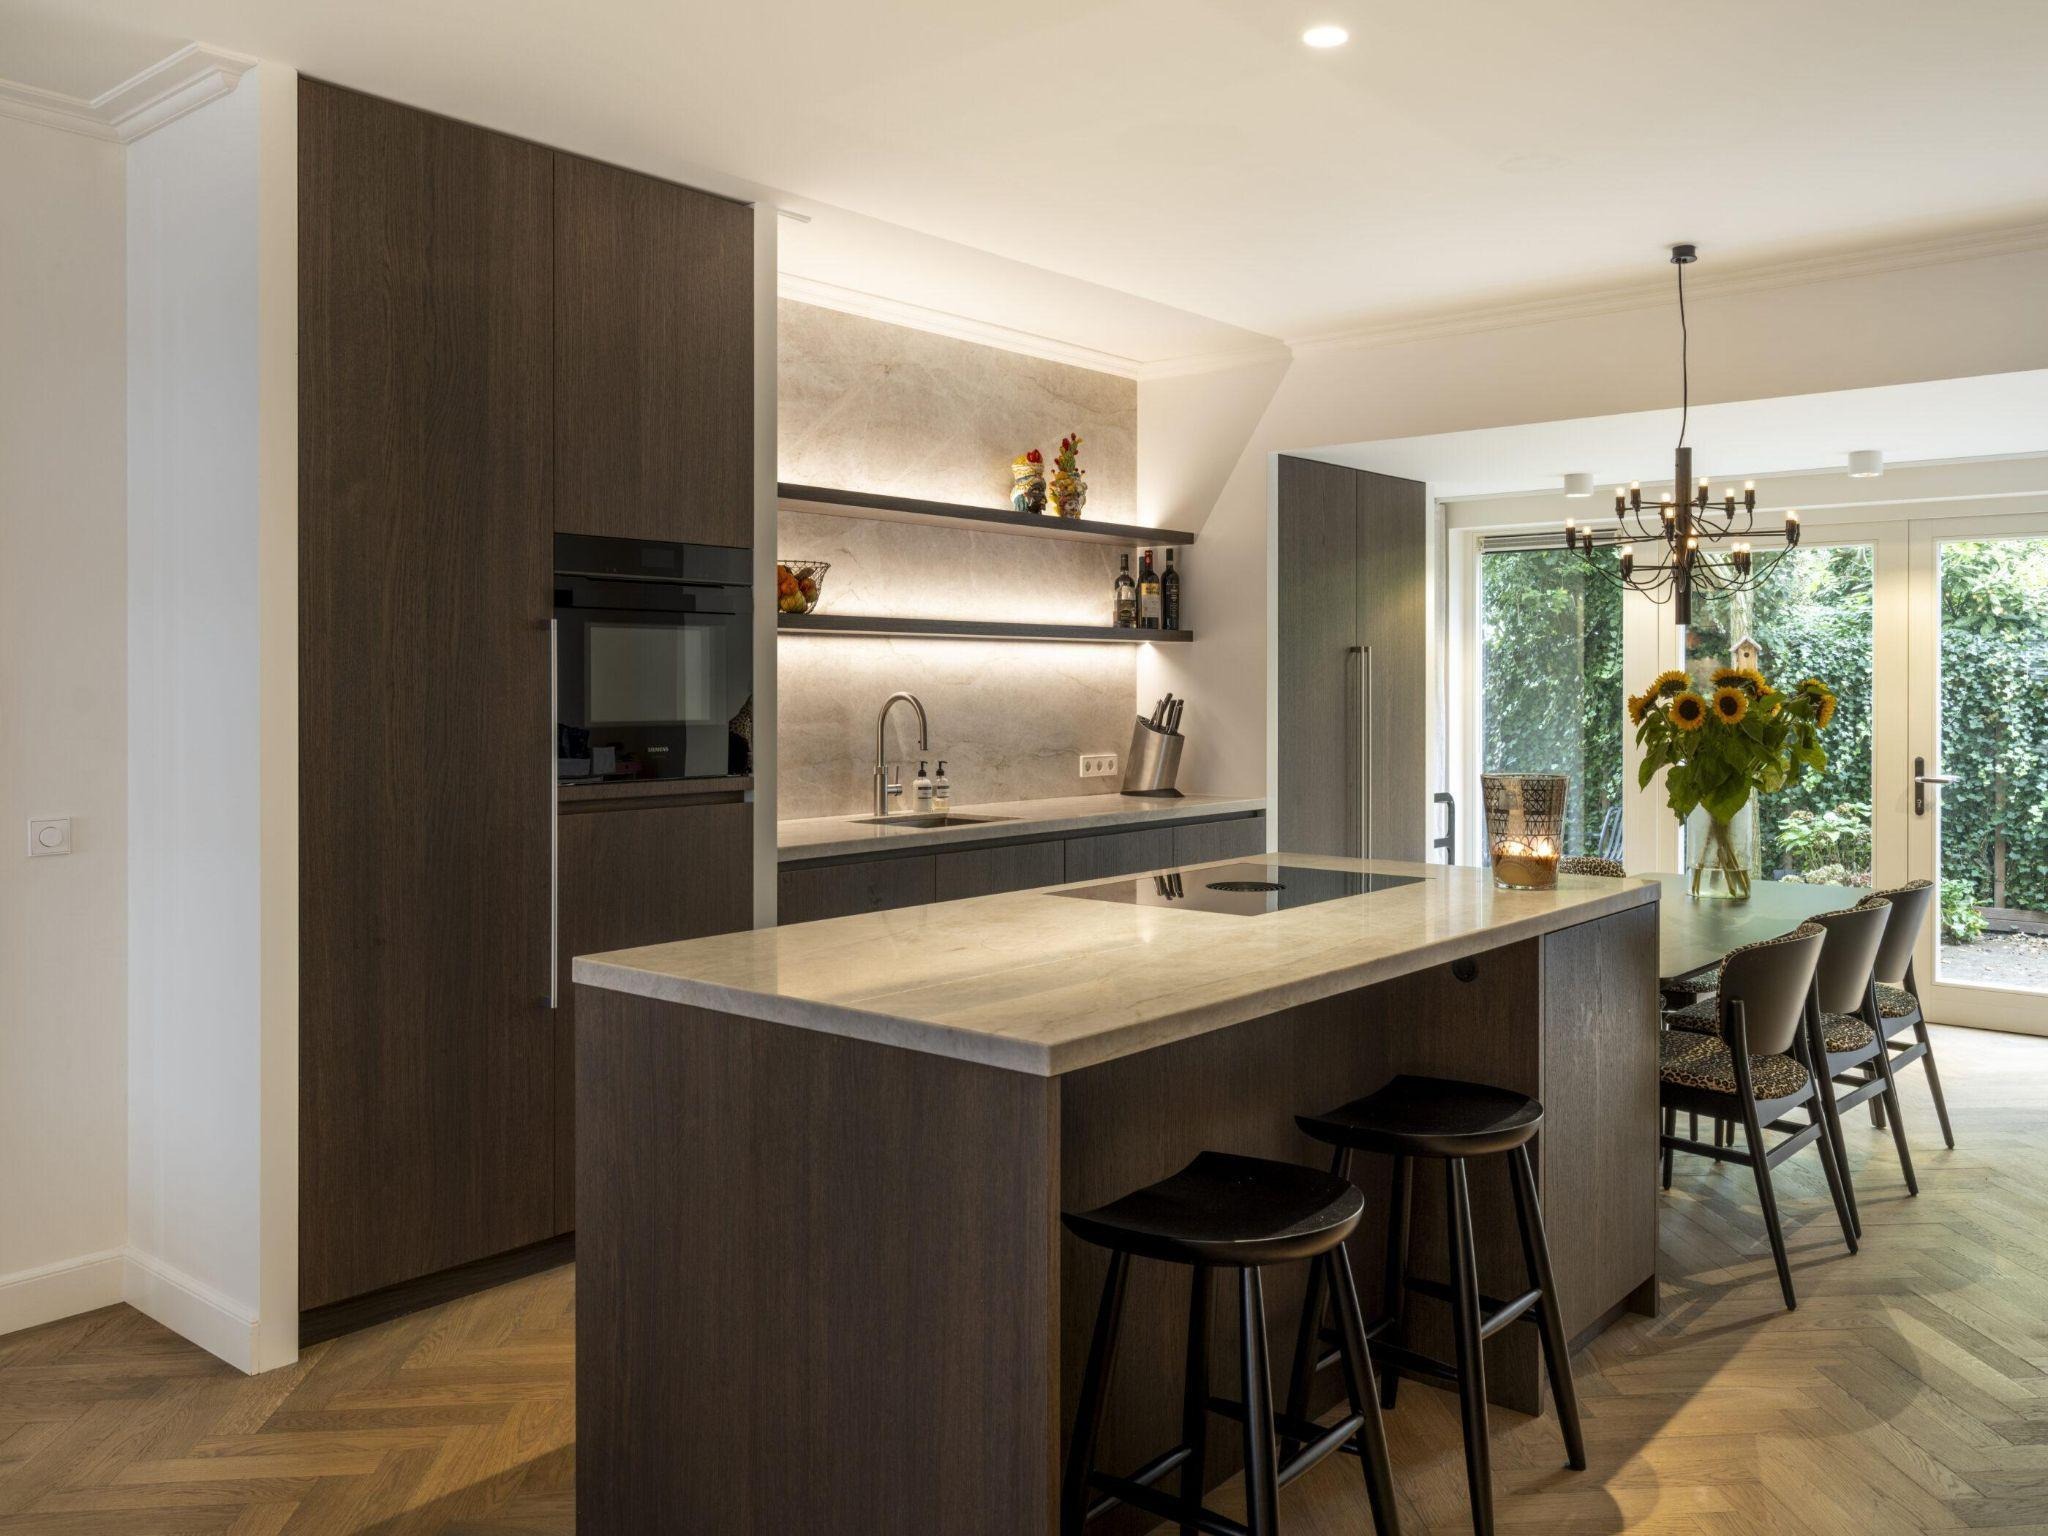
A successful kitchen renovation starts with the technical possibilities of the home. The layout must fit the available space, the appliances must match the electrical installation, and the extraction must be compatible with the ventilation system.
By checking these conditions before ordering, you prevent the need for expensive adjustments during installation. A detailed quote, a realistic schedule, and a careful handover ensure that you not only get a beautiful kitchen but also a space that functions practically and safely for years to come.
Would you like to know what work is needed for your kitchen? Bricknest offers a free online consultation and states on its website that you will receive a detailed renovation quote within seven days. This gives you insight into the work, materials, and costs before the execution begins.

