A laminate floor seems easy to install, but the quality of the end result depends entirely on the preparation and accuracy of the execution. A flat surface, the right subfloor and the correct processing of the panels determine whether the floor remains silent, stable and durable. If you take a technically correct approach to laminate laying, you will prevent open seams, deformation and unnecessary wear later.
Preparing for laying laminate
A strong laminate floor does not start with the first board, but with the right choice of materials and a well-prepared base. It is precisely in this phase that most mistakes are made that later remain visible in the finish or become audible during use.
A high-quality laminate floor must match the load on the room, the thickness of the panels and the type of click connection. In heavily used areas, wear resistance is important, while the total installation height also plays a role in renovation projects. If you want to compare different floor options, you can also read an article about this on Bricknest about PVC vs. laminate: which is cheaper.
The surface must be dry, flat and sufficiently stable. Slight differences in height can lead to tension in the click connections, causing the floor to work or make noise. Therefore, the base must first be checked and, if necessary, leveled. The residual moisture is an important technical point of attention, especially on cement screeds.
The right tools are required for correct installation. In practice, it usually involves:
- a subfloor that matches the surface;
- distance wedges;
- a striking block and a stop iron;
- a saw for precise cuts.
With only good material, the work is not done yet. Acclimatization is also important: laminate must be given sufficient time before installation to adapt to temperature and humidity in the room.

Step-by-step laying guide
The installation of laminate takes place in clear phases. When the order is correct and the details are carefully executed, a floor is created that remains technically stable and looks visually sleek.
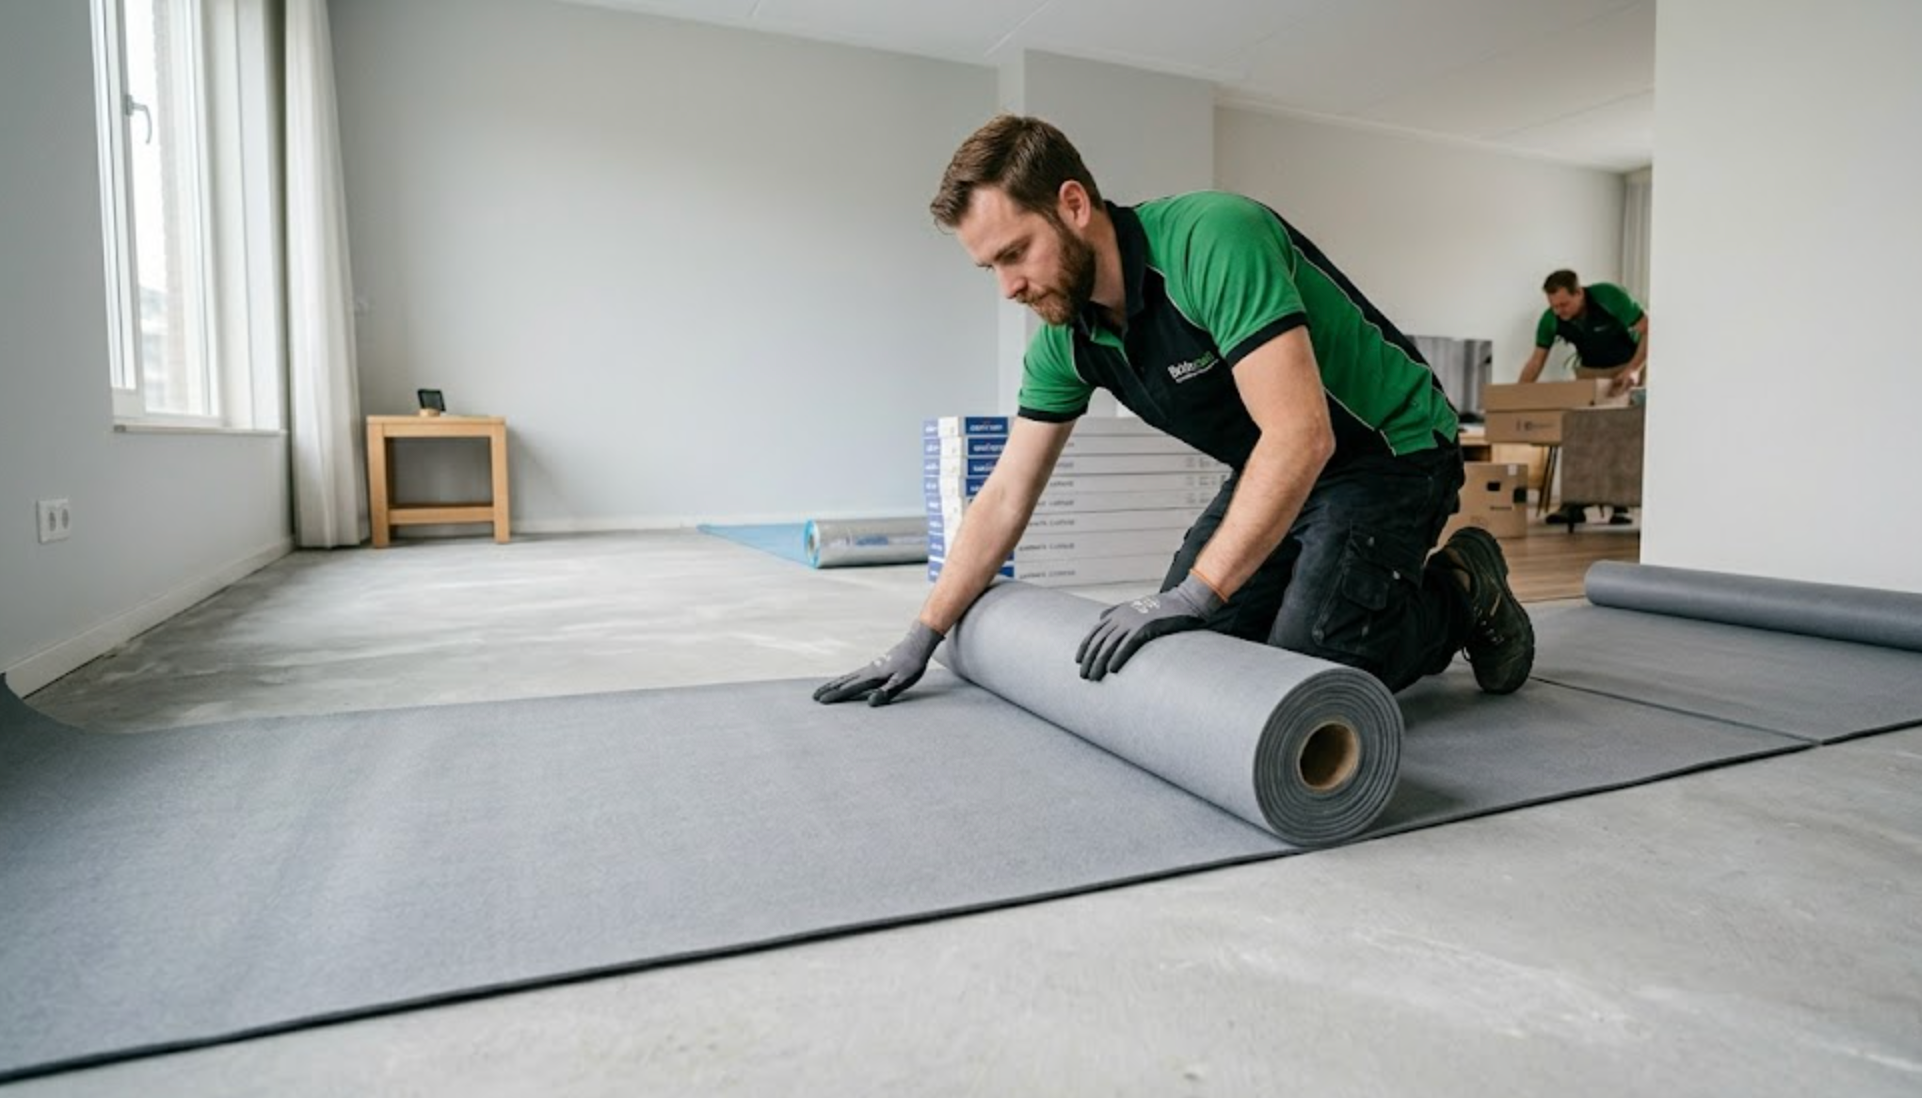
The first step is preparing the subfloor. It must match the type of surface and, where necessary, also to requirements for sound attenuation or moisture protection. On mineral surfaces, a vapor barrier is often provided first. The subfloor is then rolled out evenly without overlaps that can later cause pressure points.
When assembling the first row, the foundation is laid for the rest of the floor. That row must be completely straight, because small deviations increase further in the room. An expansion joint is kept free along the walls with spacer wedges.
The panels are then connected to each other via the click system. In doing so, the force must not be concentrated on the ends, as this may damage the connection. Especially in this phase, accuracy and rhythm are more important than speed. If you want to take a deeper look at the full placement logic, you can also read an article about this on Bricknest about laminate laying, types, preparation and essential steps.
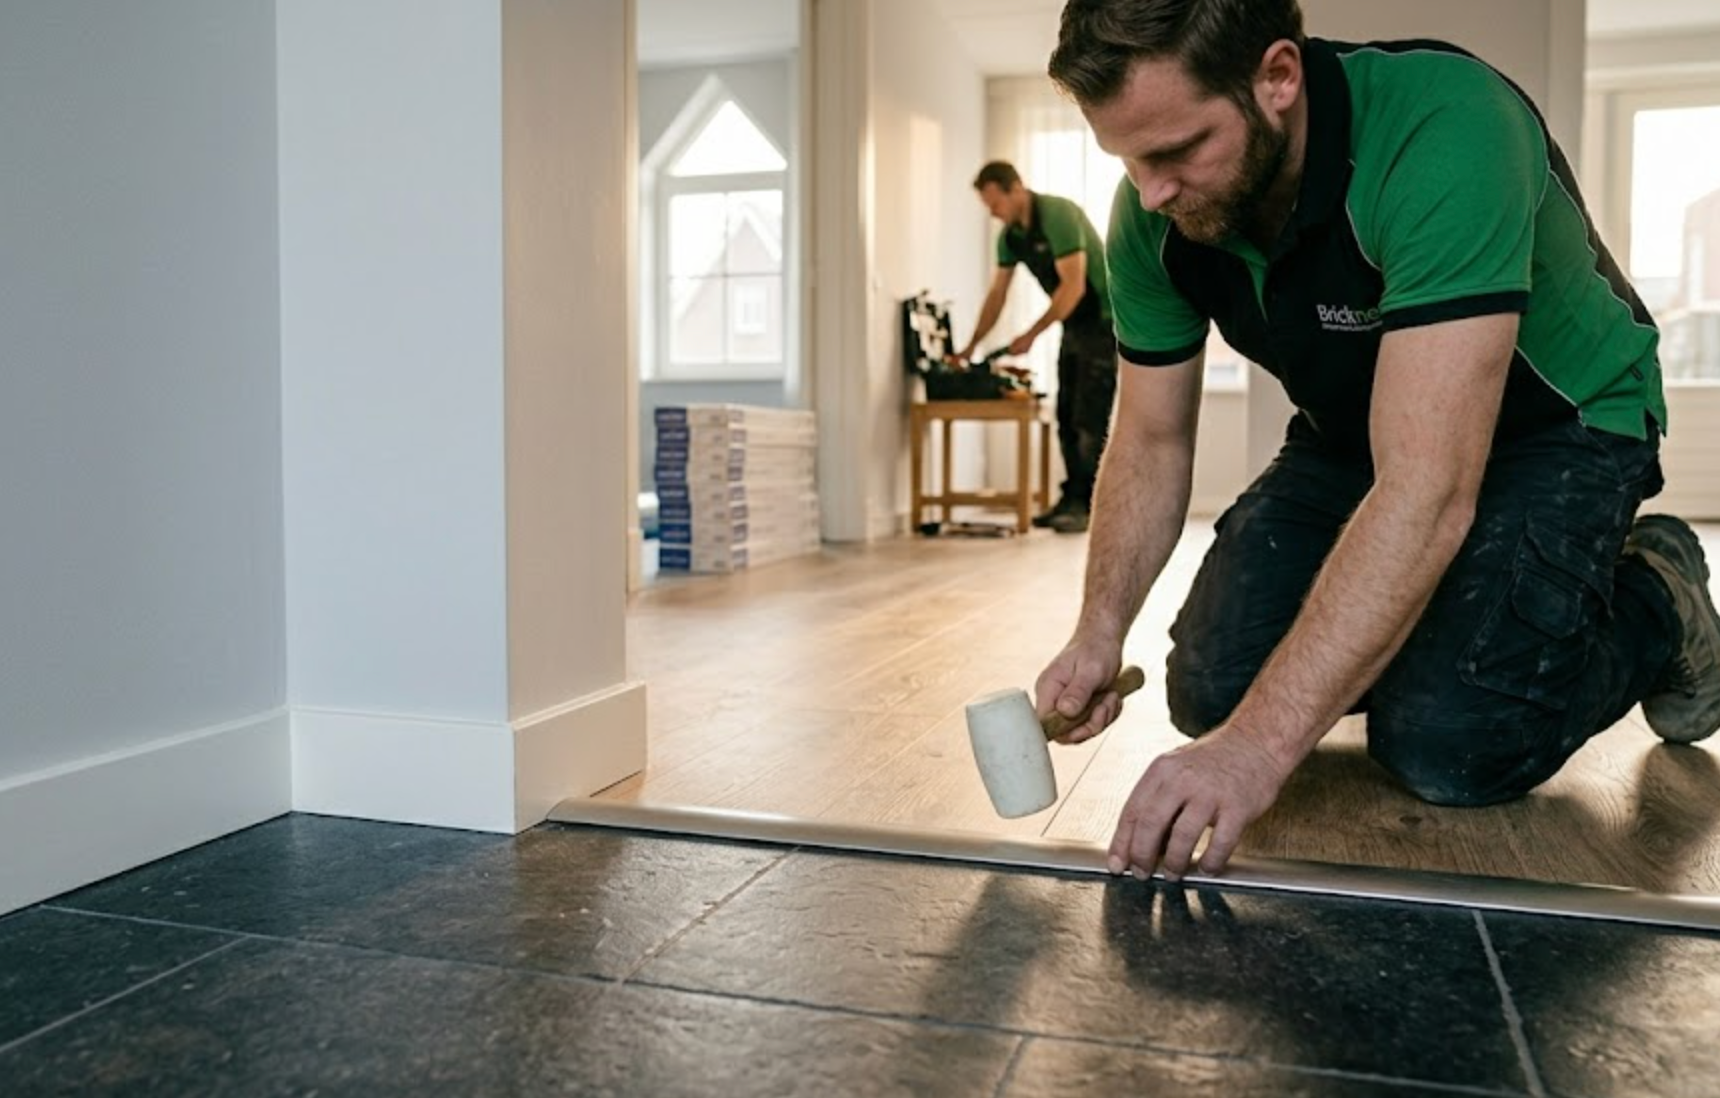
When shortening and fitting panels around doors, corners or pipes, sizing is essential. Bad cuts remain visible and can limit the expansion space. The finish consists of removing the wedges and installing skirting boards or finishing profiles without clamping the floor.
Laminate laying tips
Even if the basis is technically sound, the implementation method determines whether the floor will continue to perform well in the longer term. These laminate laying tips are especially important for a sleek and durable result.
The laying direction influences both the appearance and the spatial effect. Often, panels are placed in the direction of the incoming light, so that seams are less visible. In narrow spaces, the direction can also help visually make the room look longer or wider.

Distance wedges and clamps seem like small details, but they are essential for a correct expansion joint. Without that space, the floor can bulge when there are changes in temperature or humidity. Avoiding cracks and creaks therefore starts before the front row.
Important implementation points are:
- maintain a consistent expansion space everywhere;
- check regularly that the rows remain straight;
- use a subfloor that matches the structure;
- avoid placing on a damp basis;
- cleverly distribute short fittings across the room.
After installation, laminate also requires appropriate maintenance. Excessive use of water is not recommended, as moisture can penetrate seams and edges. Regular dust removal and slightly damp cleaning are sufficient in most cases.
Common mistakes and how to prevent them
Most problems with laminate do not arise from the product itself, but due to errors in preparation or assembly. These errors are often only visible later, when the floor is already being loaded.
One of the biggest risks is a poorly prepared surface. A floor that is not flat or dry enough causes tension in the panels and reduces the lifespan of the click connections. This leads to open seams, movement or annoying noises while walking.
An installation that is too tight or too loose also causes problems. When panels are placed under tension, the floor can expand against fixed components. If too much slack is left in the wrong places, the finish looks restless and the floor loses stability.
Temperature expansion should never be ignored. Laminate continues to respond to room conditions, even after installation. That is why transitions, edges and fixed obstacles must always be finished in such a way that the floor can continue to work freely. This is exactly what distinguishes a technically correct installation from a floor that only looks good on the first day.
At Bricknest, we ensure that every project is technically correct down to the smallest details. Our integrated approach and the use of certified professionals guarantee results that you will enjoy for years to come.
Are you planning to have your floor renewed? Get in touch with Bricknest and find out how we seamlessly coordinate your home improvement from planning to completion.
